Edit a Link
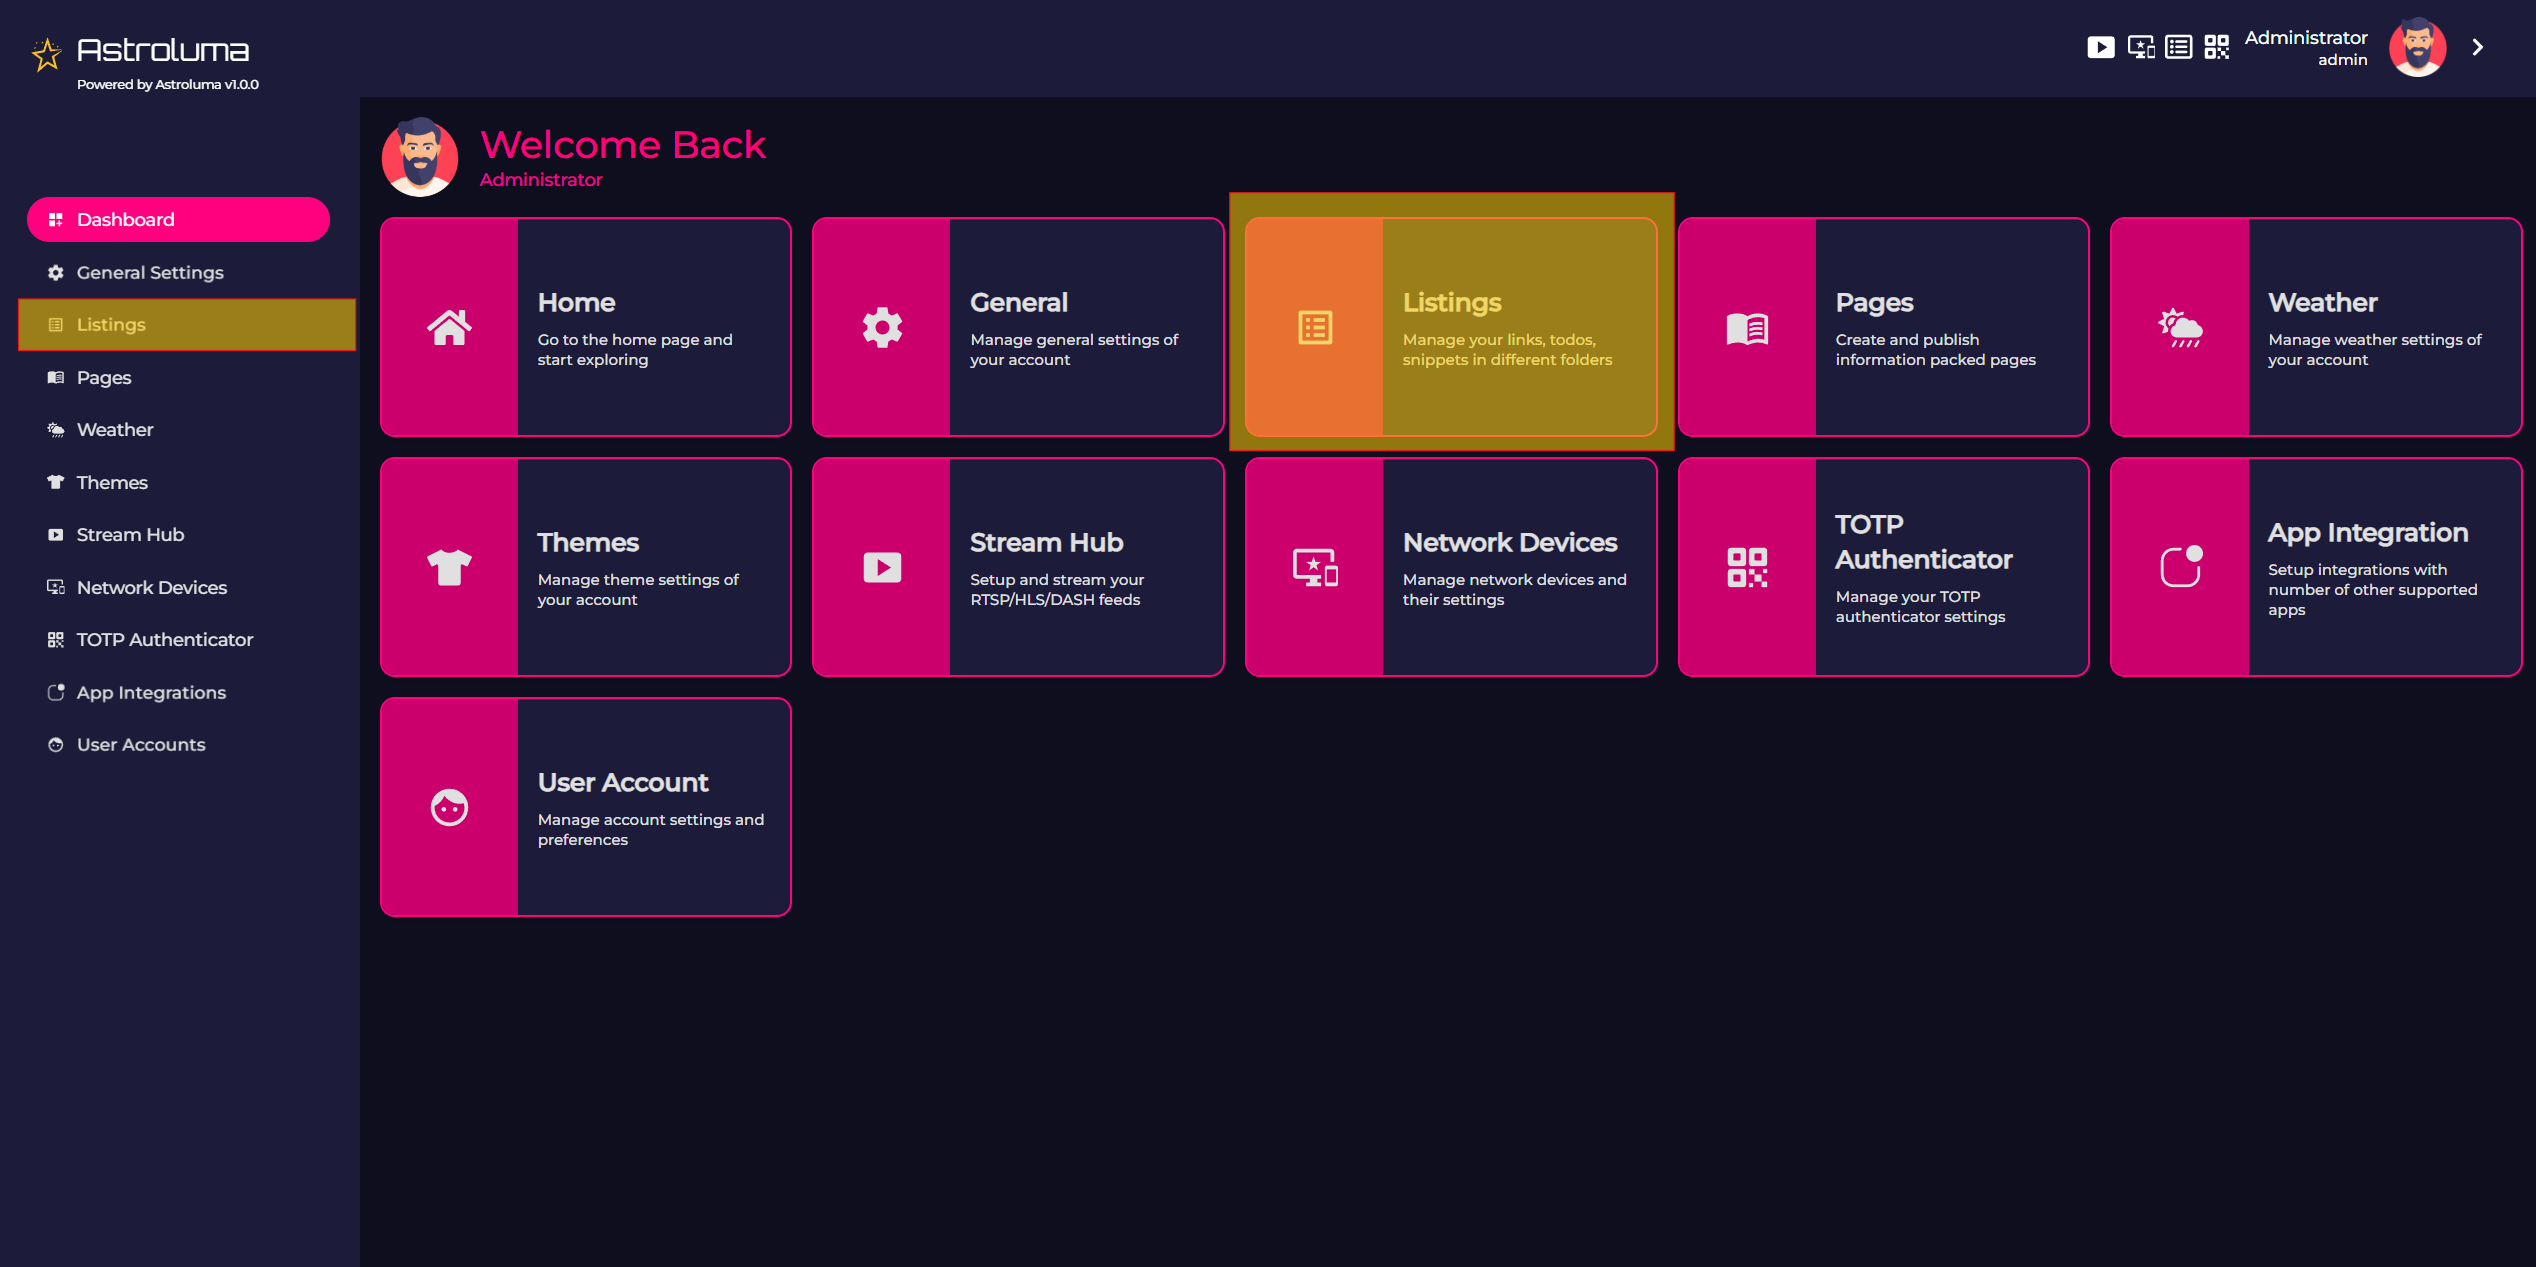
Click on Settings -> Listings. Please refer to the below screenshot to find the option.

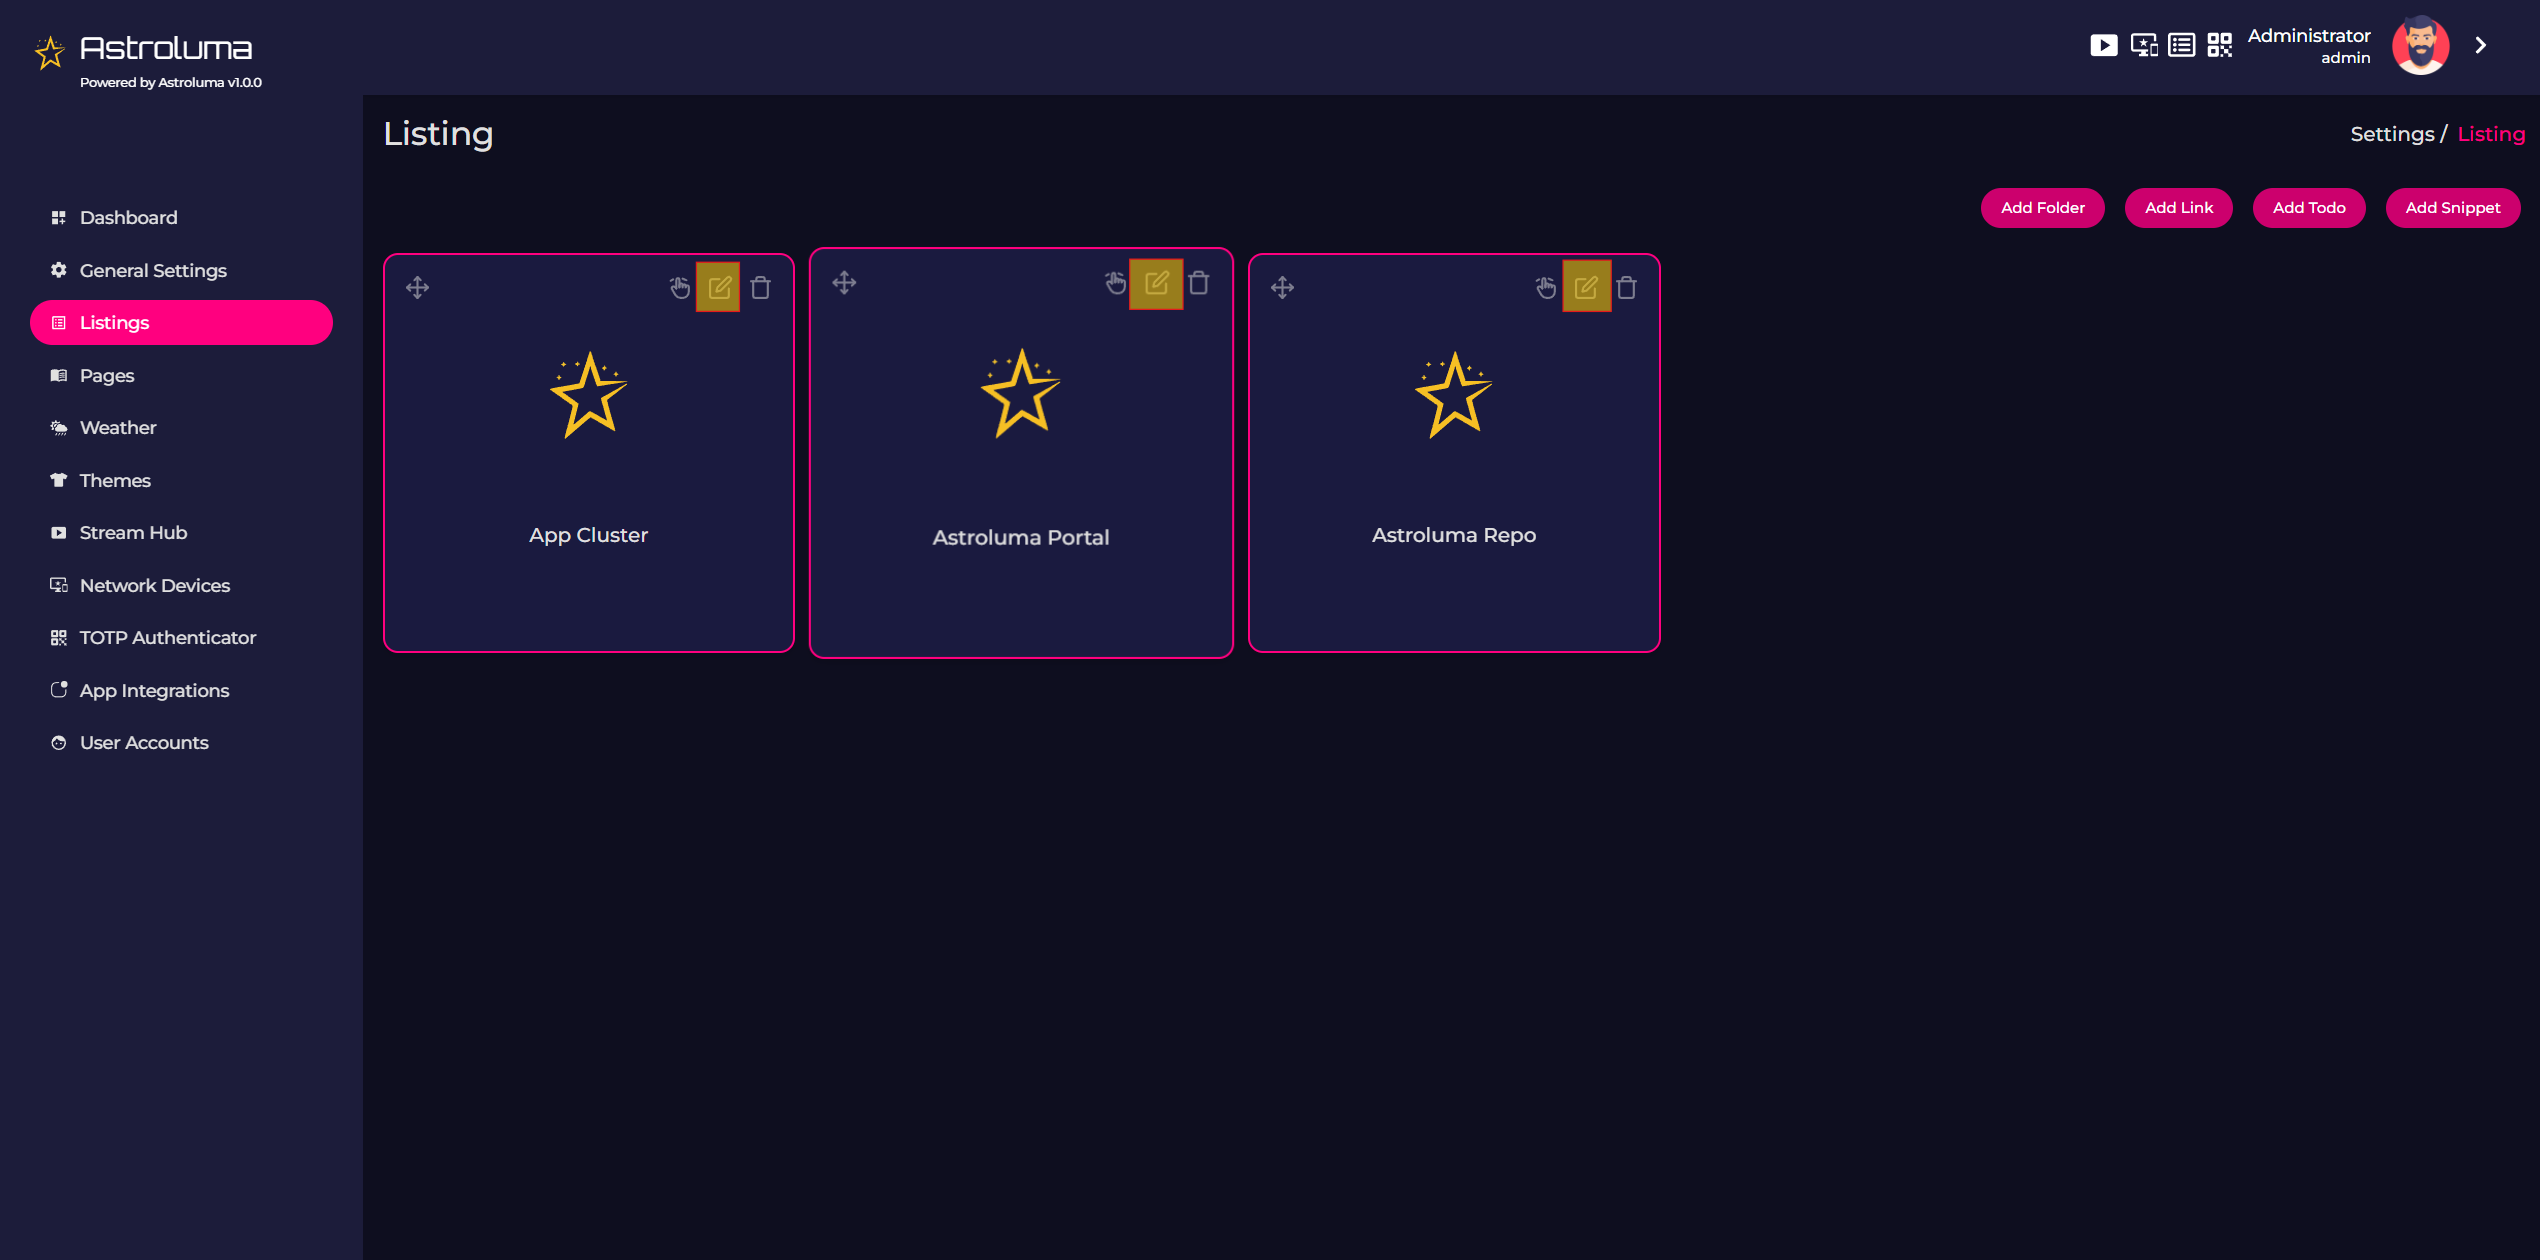
This will open the listing screen. Click on the little pencil icon on the top right corner of the listing. Please refer the below screenshot to find the option:

Update the fields as required.
Available Options
Link Name
Field Type: Text Field
Description: Enter the name of the link (required)
Link Icon
Field Type: Icon Selector
Description: Opens up an icon selector where you can select or upload an icon for the link
Local URL
Field Type: Text Field
Description: URL of the link in your local network. For ex.: http://192.168.29.4:8000
Have Remote URL
Field Type: Checkbox
Description: If you have a publically accessible domain name for the link
Link URL
Field Type: Text Field
Description: If Have Remote URL is checked, enter the publically accessible domain name for the link here
Integration
Field Type: App Integration List
Description: List of configured app integrations are shown here.
Show in featured screen
Field Type: Checkbox
Description: If enabled, the link is shown on the featured screen.
Show in sidebar
Field Type: Checkbox
Description: If enabled, the link is shown on the left side sidebar.
On root level, you can keep both Show in featured screen and Show in sidebar unchecked to create a hidden link.
Saving changes
Once all fields are correctly filled, click the Save button. The newly entered information will be saved.
Setting up app Integration
App integrations are configured on a per-link basis. For example, if you have set up the Proxmox integration, select the Proxmox integration when adding a Proxmox link. Similarly, select the configured GitHub app integration when adding a GitHub repository link.
Selecting an inappropriate app integration may result in errors or the app failing to function. For example, choosing the Proxmox integration for a GitHub link will result in the integration not working.